Drivers Side Window Fitted
 Since I've collected my Styleline kit to fit to my van, I thought I better get the remaining Window fitted while the weather was fine.
The window was the offside window (Drivers Side) and it was slightly more involved than fitting the sliding door window as there is a bit more prep work to get a good finish. This is how I fitted the window:
- From inside the van using a sharp knife, cut away as much mastic as possible which holds the inner and outer panels together. You don't have to do this for the sliding door window.
- From inside the van, drill some holes near the corners that your jigsaw blade will fit through. Then using the jigsaw carefully cut along the straight sections of outer panel using the inner panels as the guide as close to the corners as you can get, leave the corners as you have to cut these from outside the van. Angle the blade of the jigsaw so the outer panel is cut slightly smaller than the inner panel. You have to cut the corners from outside the van so put plenty of tape on the bodywork to protect it and cut across joining up the straight sections you have cut so you can remove the inner section of the panel. Its handy to put some gaffer tape on the panel so it doesn't drop as you make the last cut. Now cut each corner following the curve of the inner panel.
- Once the corners have been cut use a file to clean up any imperfections on the cut edges and then carefully cut away all remaining mastic using a sharp knife from between the panels.
- Paint the cut edge and any other bare metal with some red oxide primer or similar to provide rust protection.
- You now need to bond the 2 skins back together but closer than before using the Sikatak window bonding adhesive or similar. You need to dress back the outer skin so instead of being at an angle its flat and parallel to the inner skin. If you ignore this stage then your bonded window will not fit flush in the window aperture and will stick out in the corners. Apply a bead of sealer along the inner skin and then carefully dress back the outer skin using a hammer till its flat, a small amount of sealant may squirt out. You need to do this all the way around the outer skin including the corners.
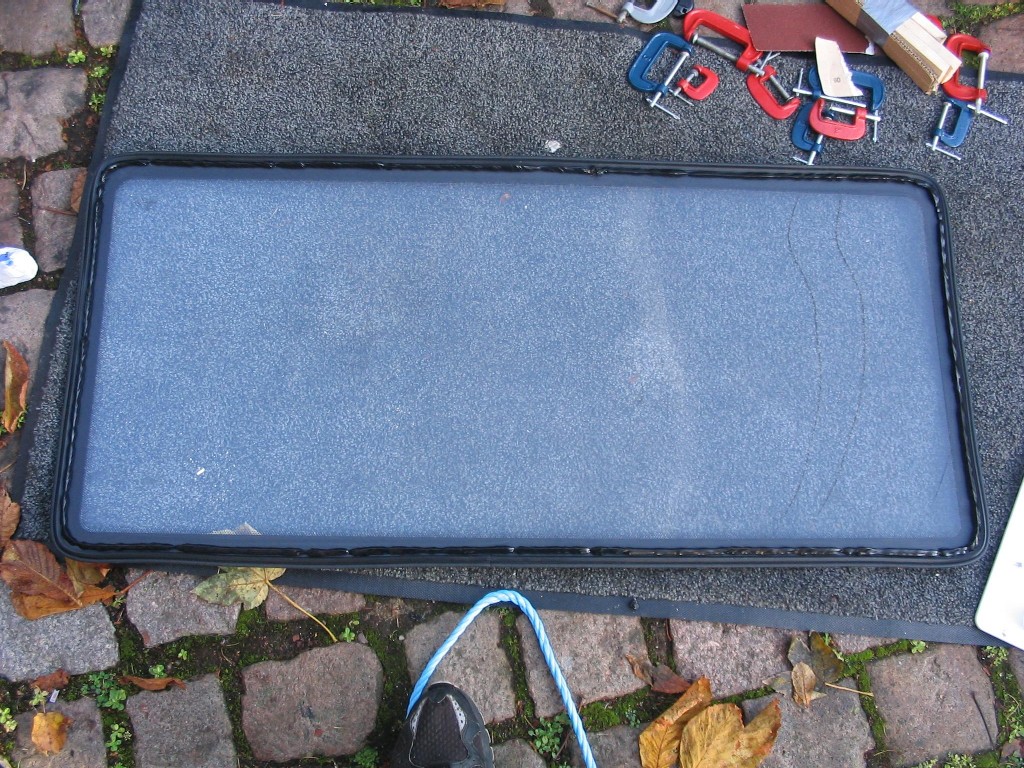
- Now clamp the inner and outer skin together all the way around as naturally the outer skin will try and bend back. I did this using around 20 small g-clamps which can be bought cheaply. Clamp the two skins so the total thickness of the inner and outer skins combined is 4 - 5 mm.
- Leave the sealant to go off properly and remove the clamps, I left it overnight.
- Cut off any sealant which may have squirted out and key the aperture where the window will bond using some scotch brite or fine emery paper. Clean the aperture with white spirit to remove all the dust.
- Fit the rubber seal to the window with the join at the top, cut the rubber with a sharp knife and glue the seal together with super glue.
- Clean the black part of the window with the special Sika cleaning solvent supplied with the Sikatak bonding adhesive. Also clean around the window aperture using the same clean solvent. Then leave it for at least 10 minutes for the solvent to evaporate.
- Apply a continuous triangular bead of sealant all the way around the edge of the window about a mm from the edge of the rubber seal, there is a guide on the nozzle. (Sikatak drive comes with nozzle pre cut to obtain the correct triangular bead)
- Lift the window carefully using the edges and line up with the aperture on the van and push home carefully onto the van. Push hard all the way around the edge of the window so it beds into the sealant properly, make sure all the corners are bedded in properly.
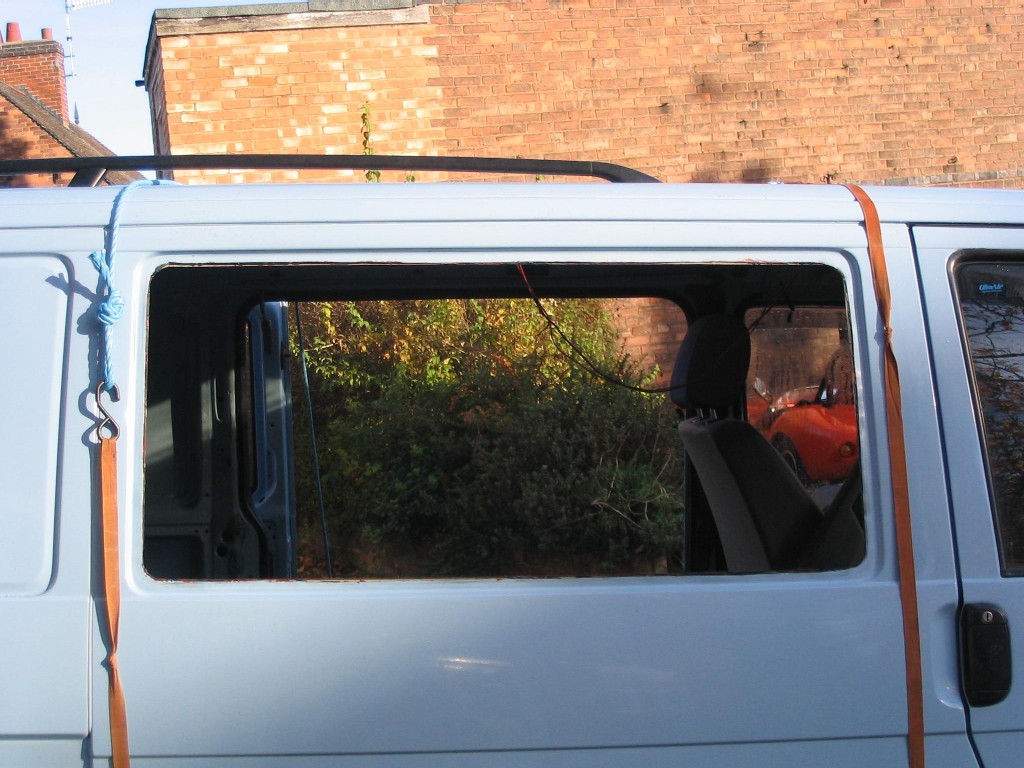
- If you don't have any thing to hold the window, keep pushing it for at least 15 minutes while the sealer goes off. I however used some ratchet straps, rope, wooden blocks and cardboard to hold the window firmly while the sealer went off. (See picture and thanks for the tip by Tony at Styleline) It also allows you to pull the window in a bit more firmly than you can push.
- I left the sealer to go off overnight before I drove the van.

posted by Clive at 10:54 AM
![]()
1 Comments:
good job dude!
Post a Comment
<< Home